vue项目打包部署nginx(全流程)
程序开发
2023-09-17 20:19:42
在服务器上按照nginx:
sudo apt-get install nginx
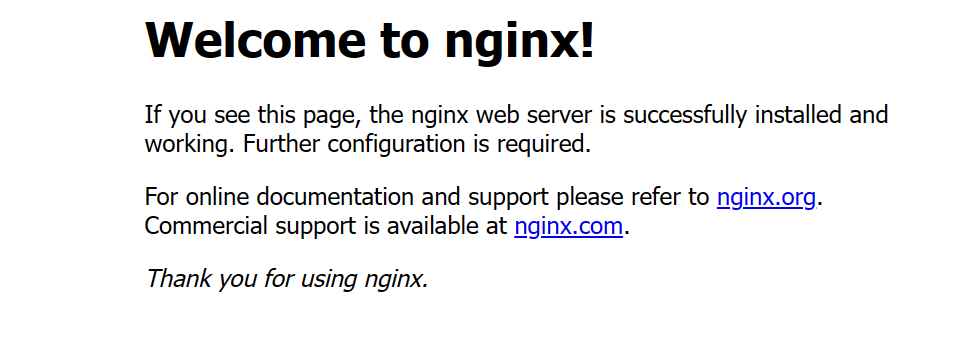
安装后nginx默认运行,在浏览器中打开IP地址,即可看到nginx画面
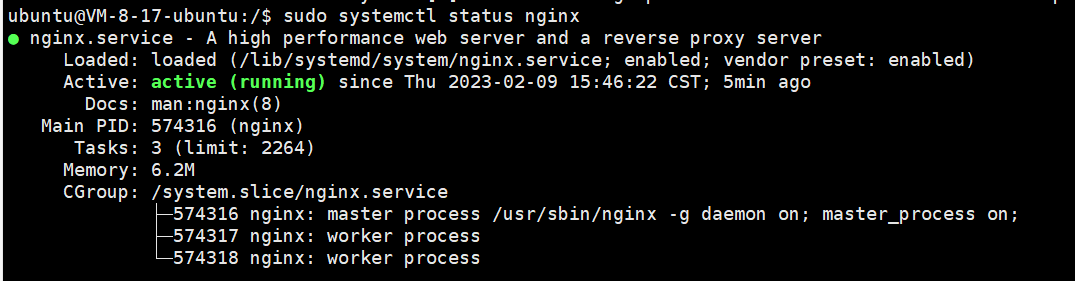
可以使用sudo systemctl status nginx查看nginx状态,图中主要看第三行Active
配置Nginx在启动时启动:sudo systemctl enable nginx.service

在/etc/nginx/sites-enabled下修改 root后的路径
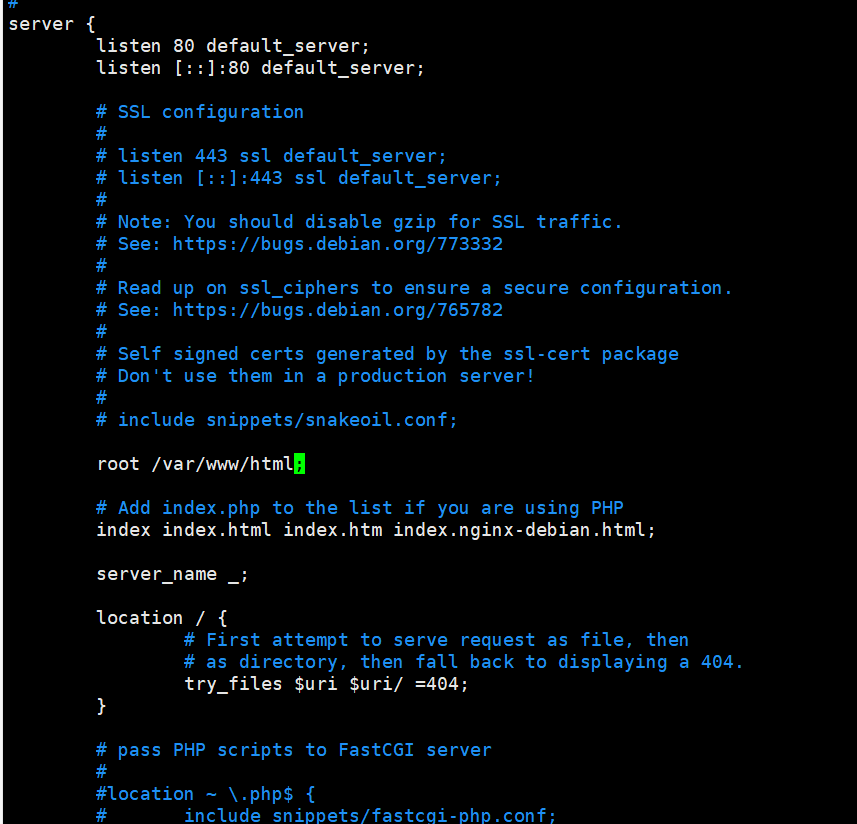
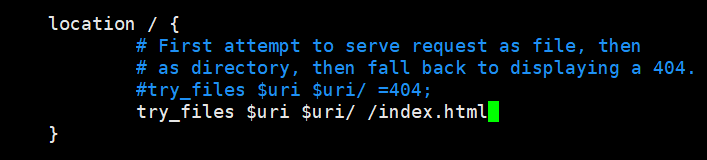
为了刷新不变成404,修改location中内容
修改文件后使用nginx -s reload更新nginx的配置
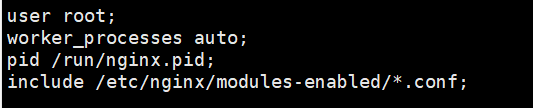
最后,比较重要的是,记得修改nginx用户!不然nginx没有相关目录的权限,导致页面是500
打开 /etc/nginx/nginx.conf文件
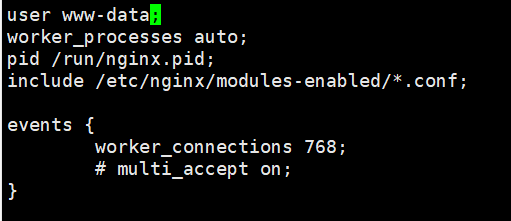
将user 改为root
如何页面出现其他问题,可以搜索nginx错误日志的路径,打开error.log查看即可
查找方法请自行搜索
标签:
上一篇:
AngularJS进阶 七 实现根据不同条件显示不同控件
下一篇:
相关文章
-
无相关信息