2023年node.js最新版(18.15.0)详细安装教程(保姆级)
程序开发
2023-09-08 17:33:40
本文章作者本人卸载之后重新安装的完整详细教程, 包含了环境变量的详细配置,以及常见的错误解决方法

一. node.js安装与环境变量配置
1 .node.js下载(包含国内和国外下载地址)
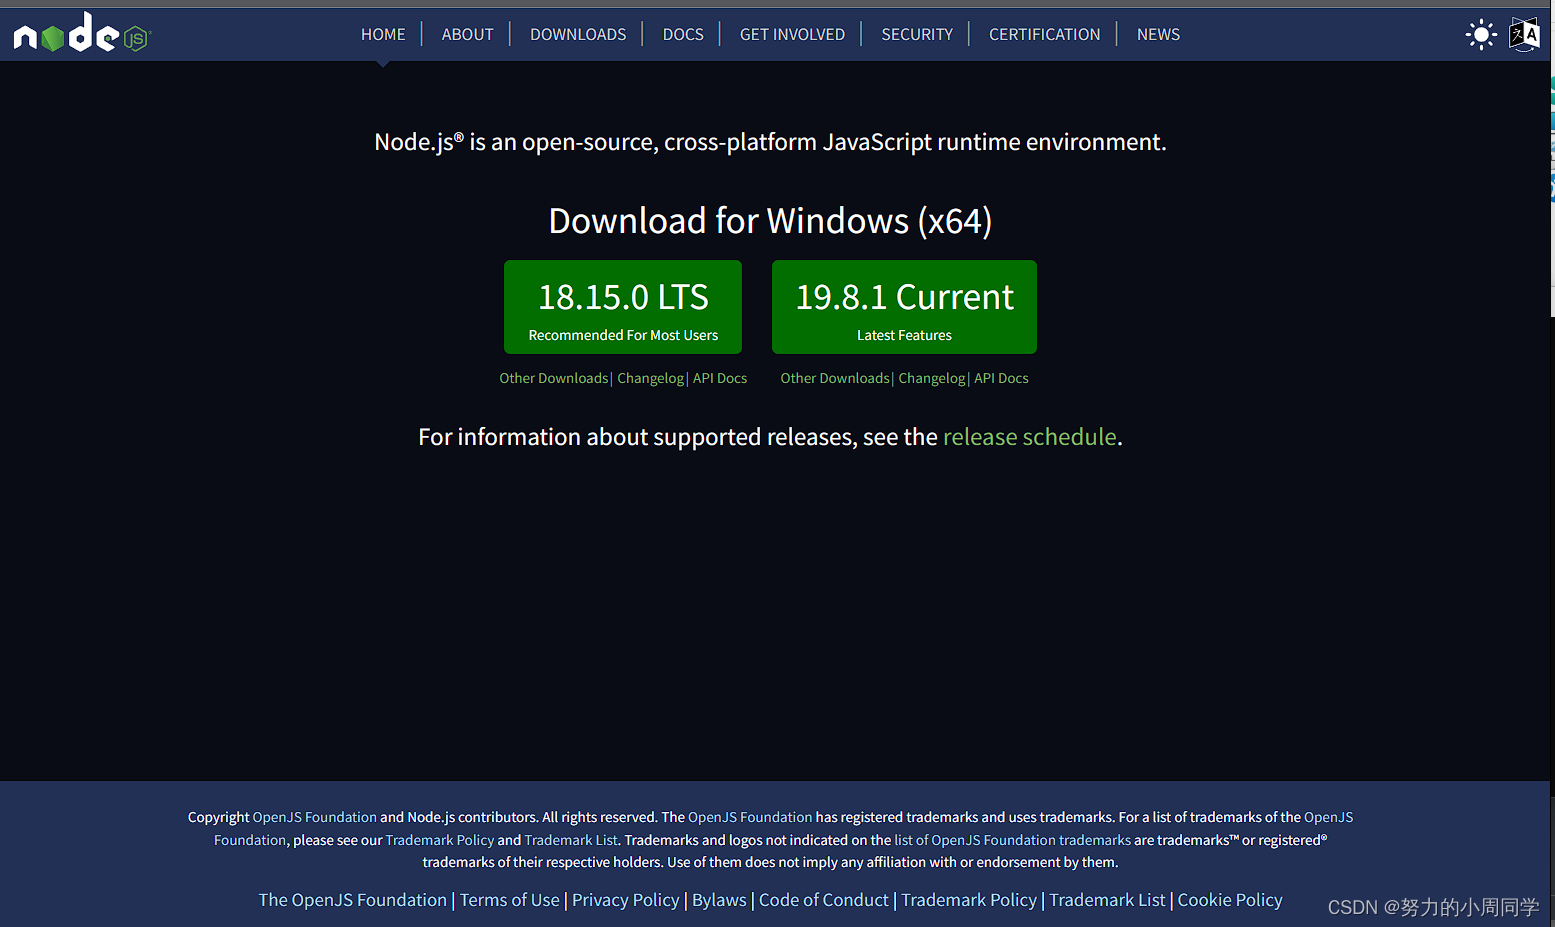
1.国外的官网地址: Node.js (nodejs.org) 下载慢,下面提供国内地址.
可以看到当前的版本 LTS是大多用户使用的稳定版本, Current是最新版本, 这里选择的是稳定版本(18.15.0)
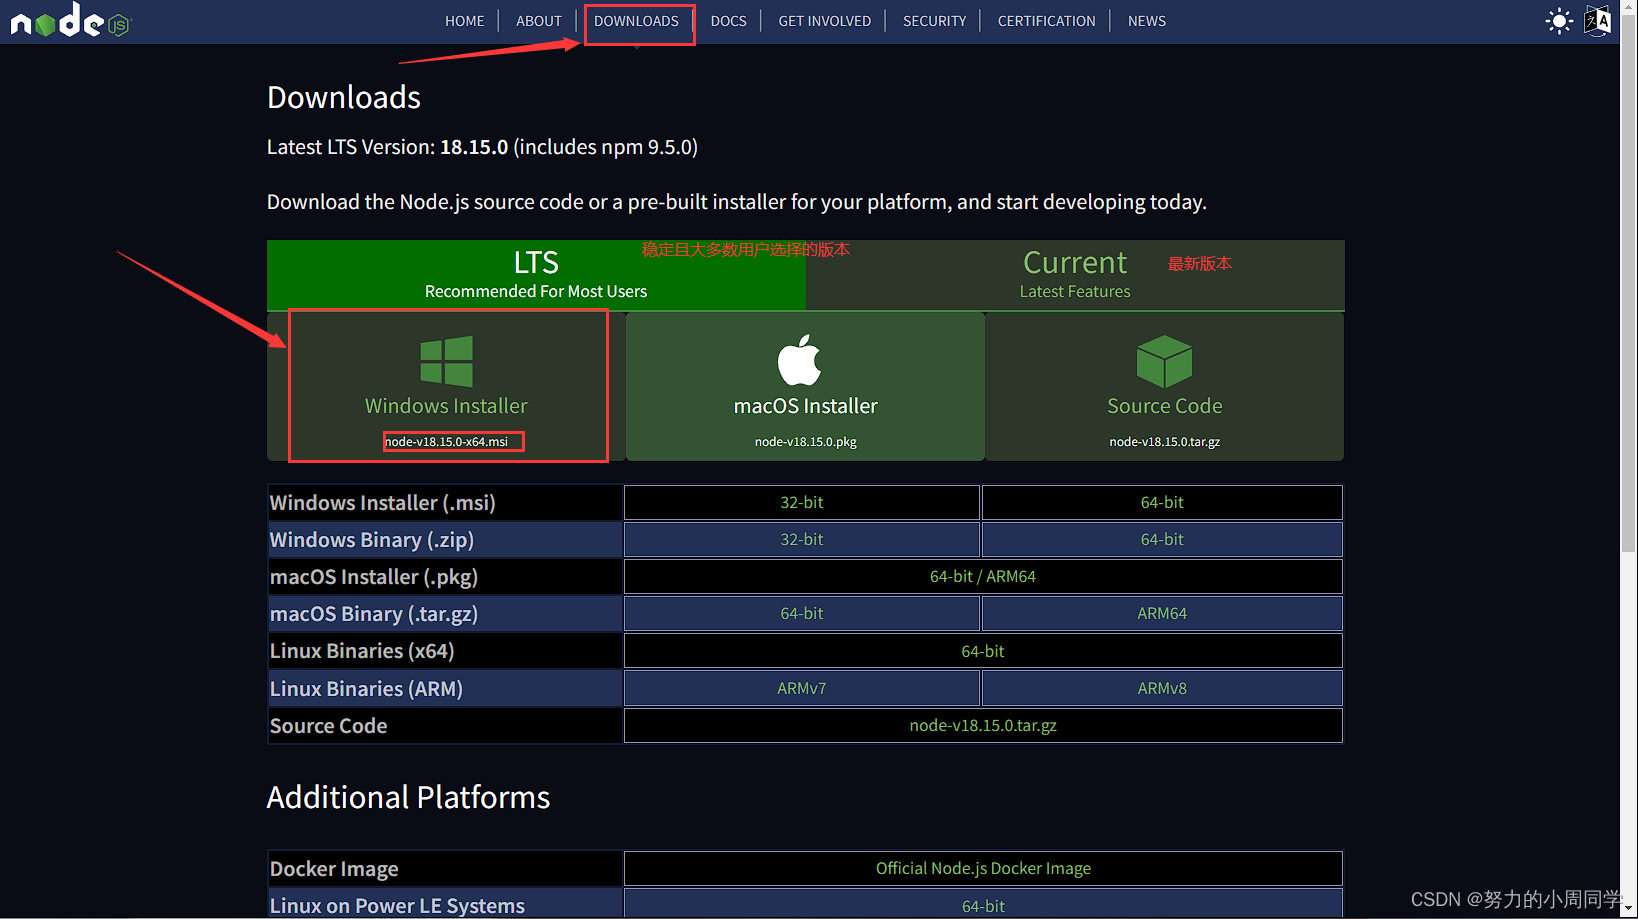
点击如下图所示位置Downloads 进行node.js下载
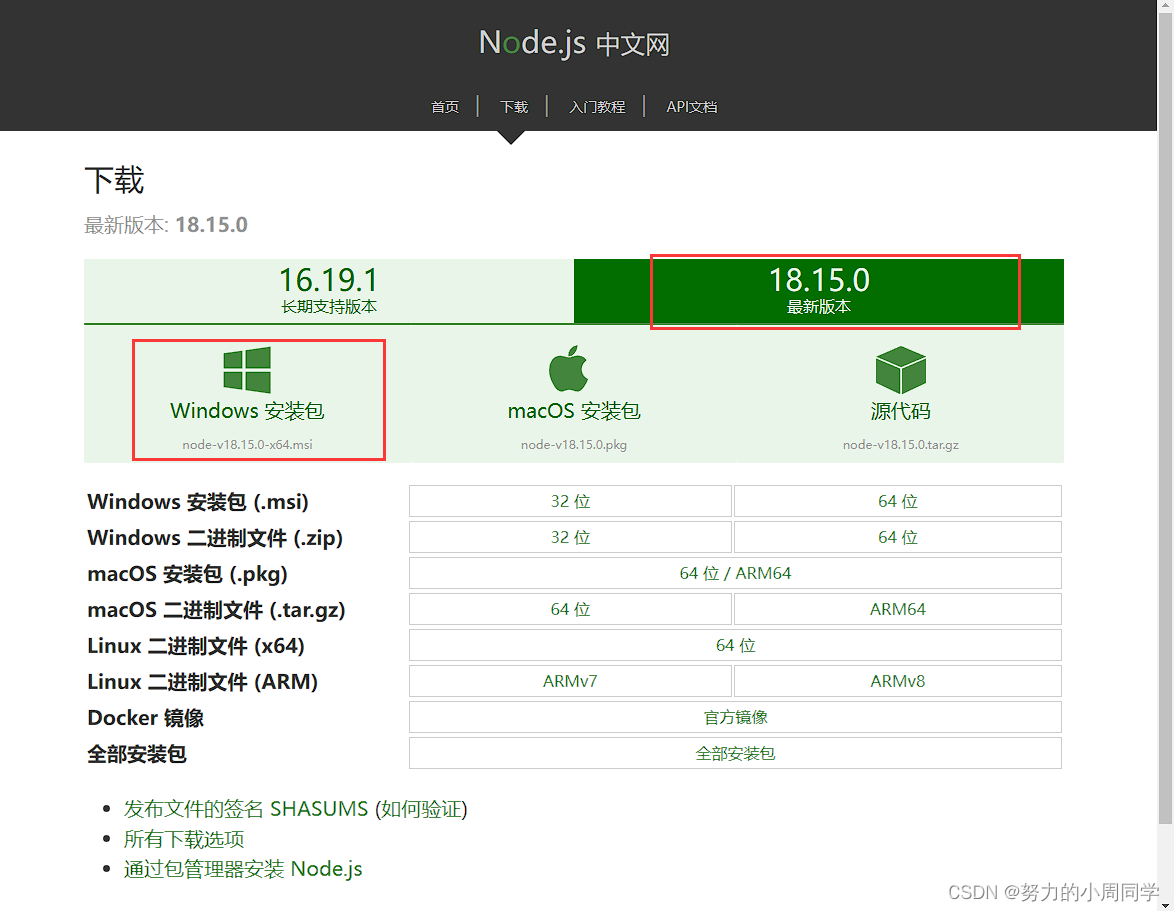
2.国内下载地址: 下载 | Node.js 中文网 (nodejs.cn)
点击最新版本,点击Windows安装包 进行下载安装, 如下
2. node.js详细安装步骤
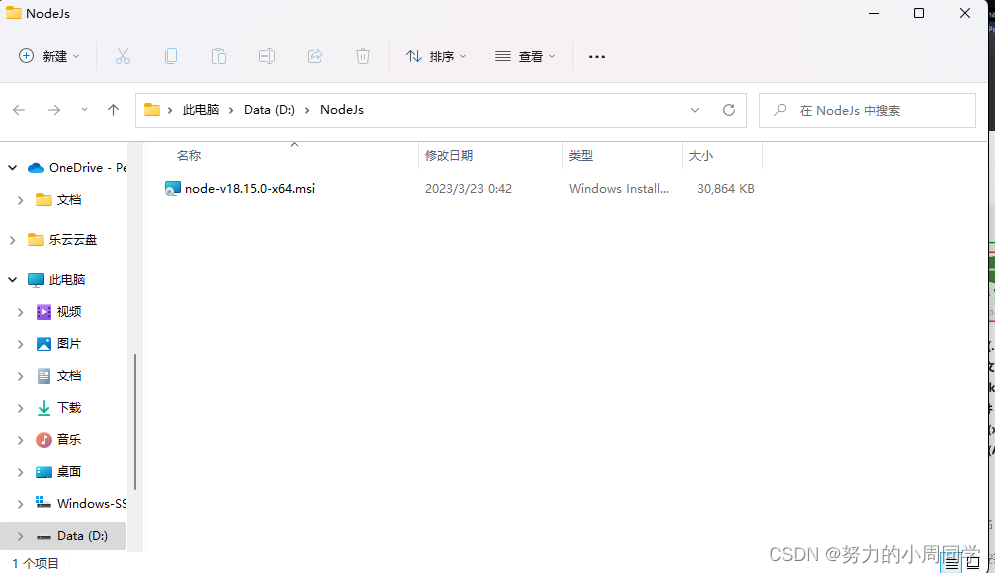
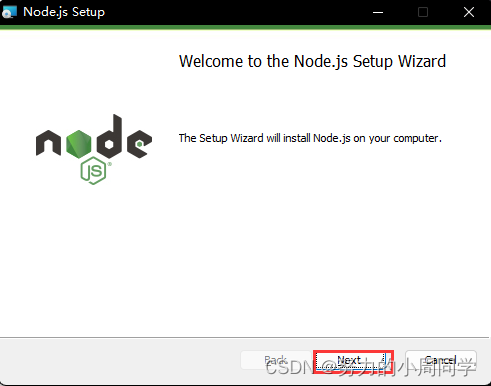
打开下载安装的文件夹下的安装包, 双击进行安装
点击next 下一步
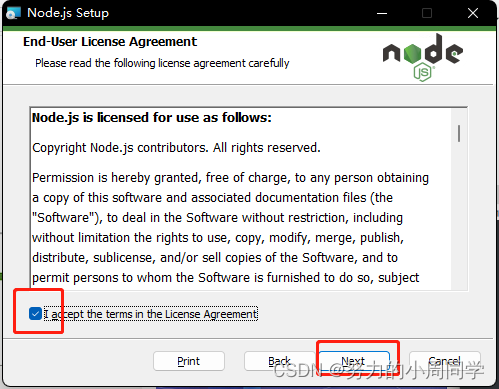
勾选点击下一步next
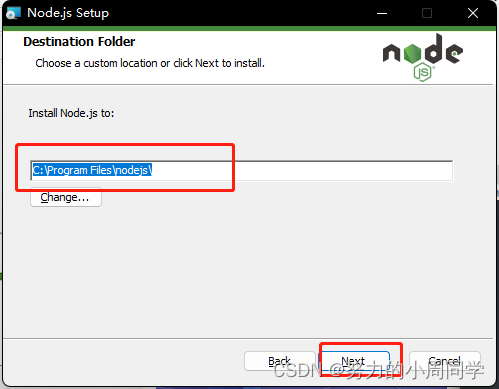
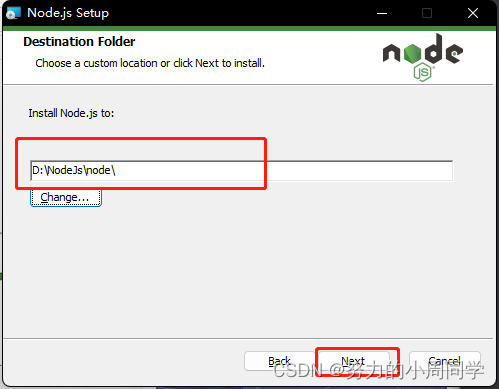
选择安装的位置最好是英文路径,我的是DNodeJsnode ,然后点击下一步next
点击下一步next
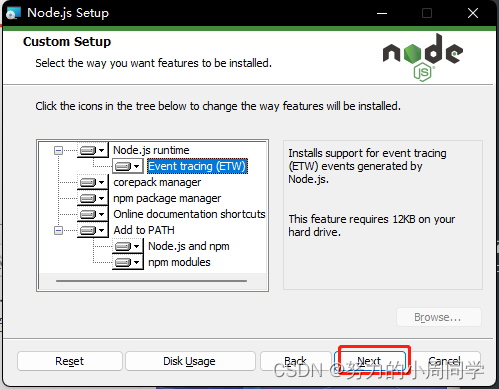
看到如下图所示, 不要勾选!不要勾选! 不要勾选! 直接next
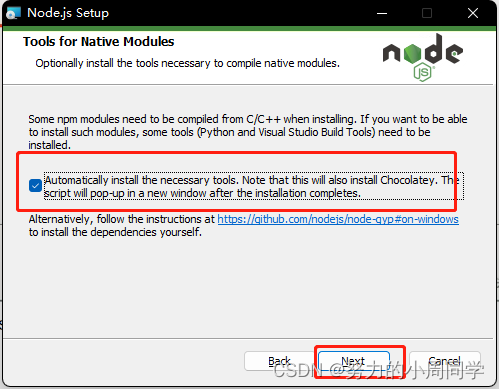
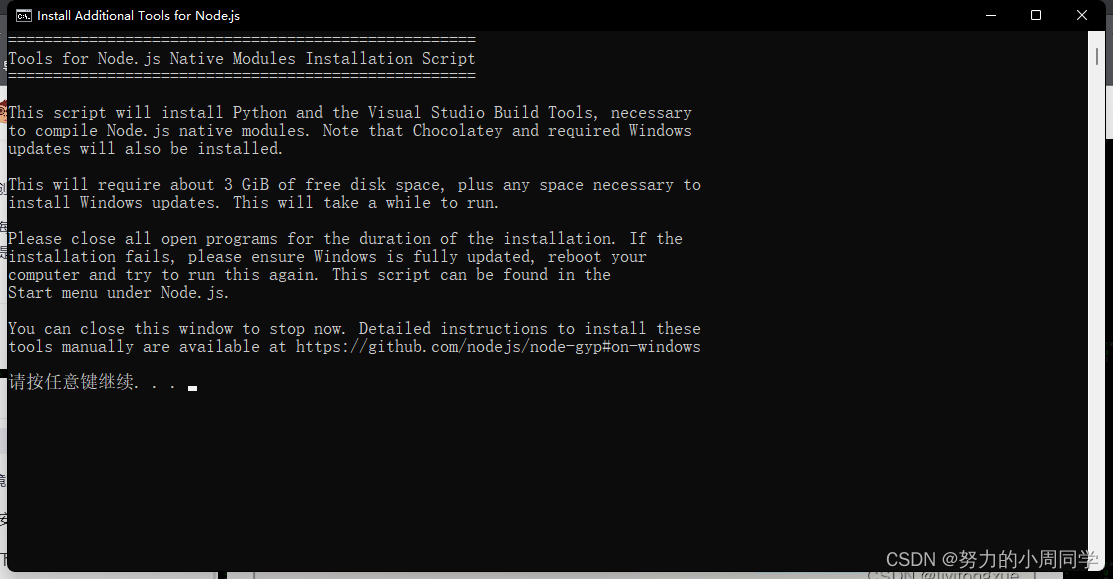
如果勾选了就会出现了这样的界面下载完成之后会出现
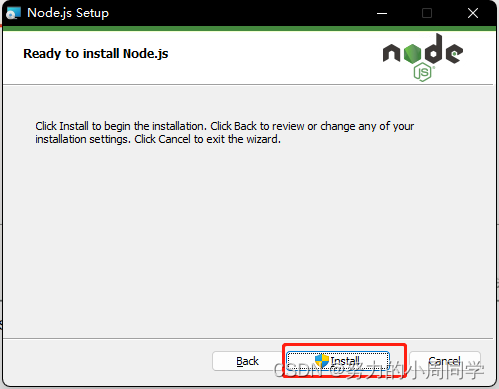
7.点击安装install
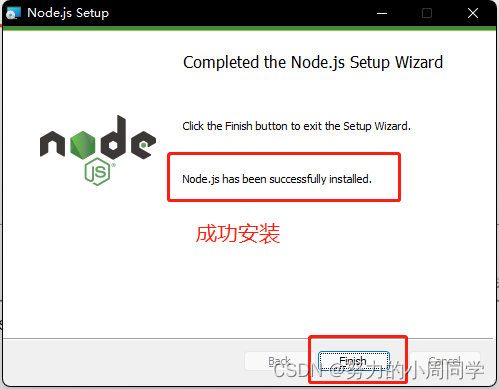
8.完成安装,点击Finish
3. 详细配置环境变量
找到电脑的环境变量 , 我这是Windows11 系统
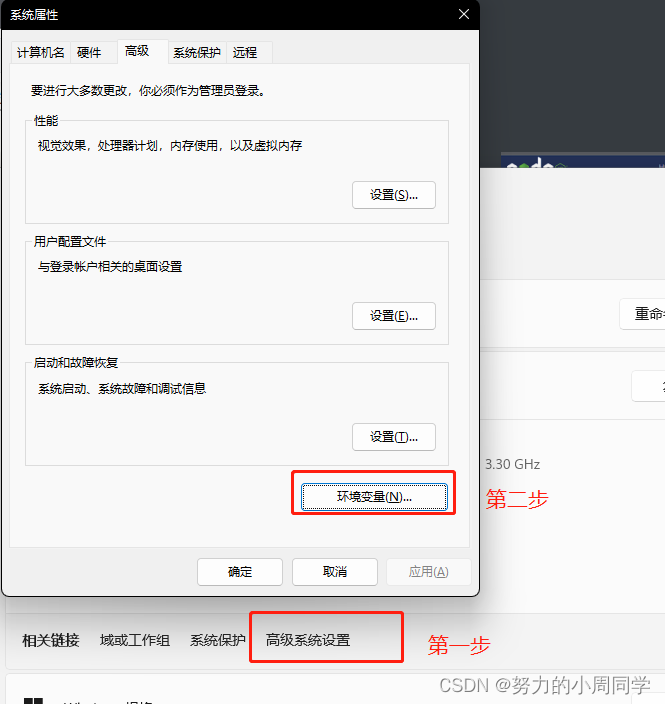
2.进入环境变量,编辑【系统变量】下的变量【Path】, 点击编辑
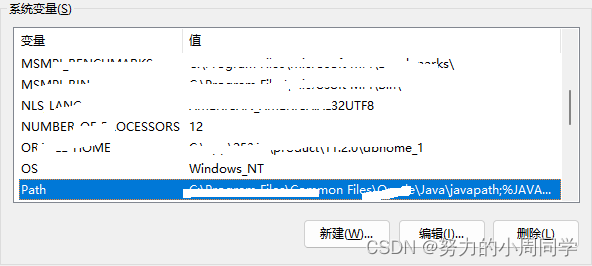
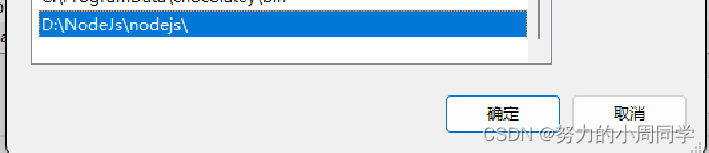
3.添加安装路径 我的是D:NodeJsnodejs
二. 验证是否安装成功!
1.进入cmd命令行窗口,右键进行管理员模式下,输入命令, 查看nodejs版本
node -v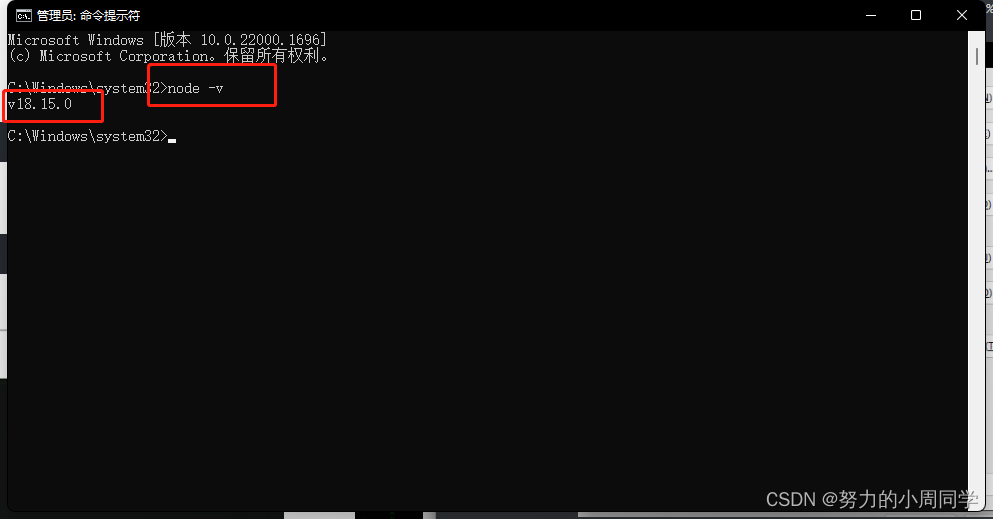
2. 查看npm版本 如下图所示,即为安装成功:
npm -v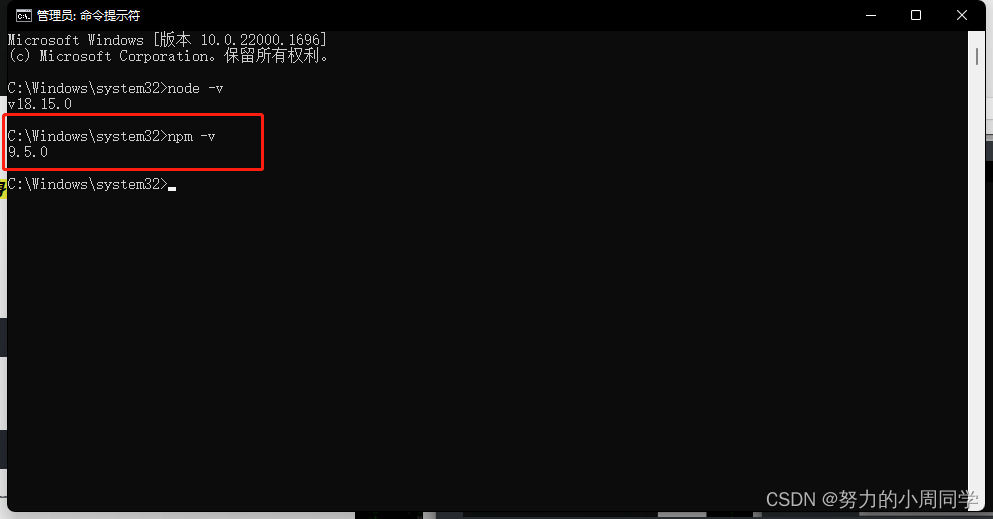
三. 修改下载位置
1.查看npm默认存放位置
查看npm全局模块的存放路径
npm get prefix查看npm缓存默认存放路径
npm get cache
如上图所示,npm 全局模块存放位置以及cache的存放位置,默认是在 C 盘 “C:Users用户AppData” 下。
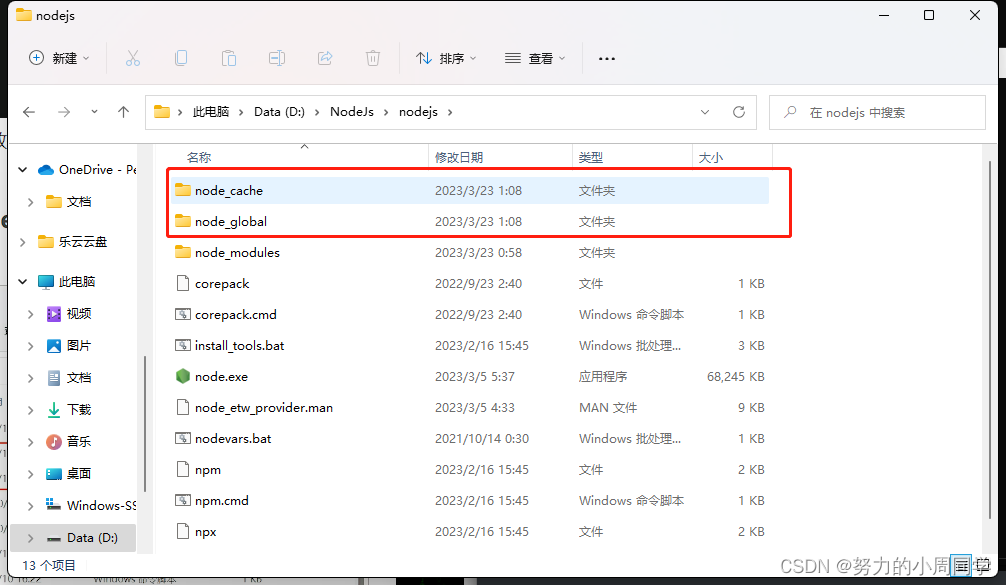
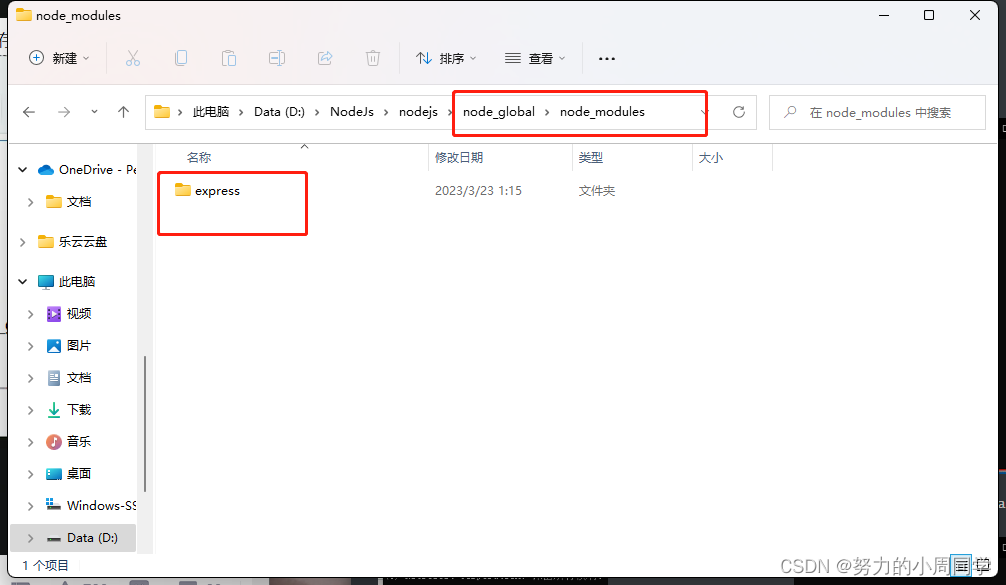
2.在 nodejs 安装目录下,创建 “node_global” 和 “node_cache” 两个文件夹
3.修改默认文件夹
设置全局模块的安装路径到 “node_global” 文件夹 npm config set prefix 命令
npm config set prefix "D:NodeJsnodejsnode_global"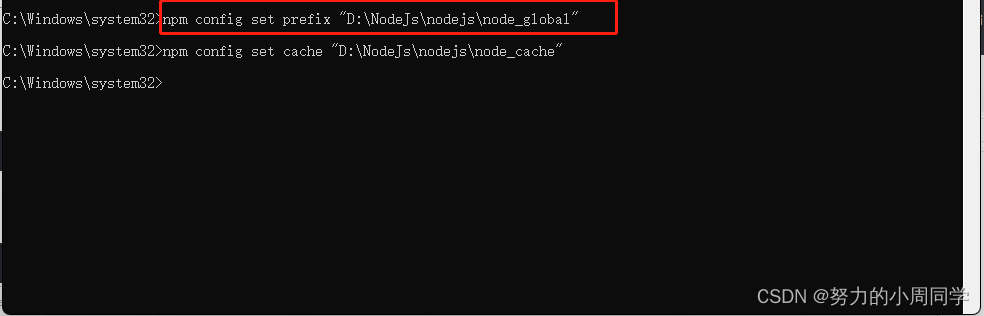
设置缓存到 “node_cache” 文件夹 npm config set cache 命令
注意看路径不要写错了喔!!!
npm config set cache "D:NodeJsnodejsnode_cache"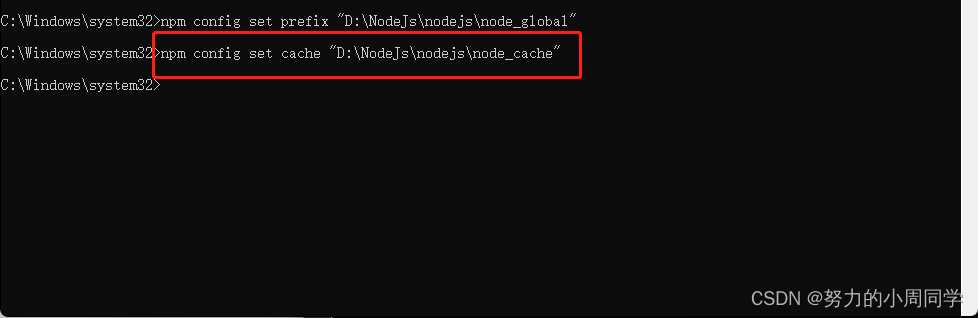
在系统变量的环境变量中配置node_global 的路径,方便执行命令

4. 查看是否修改成功
使用命令
npm install express -g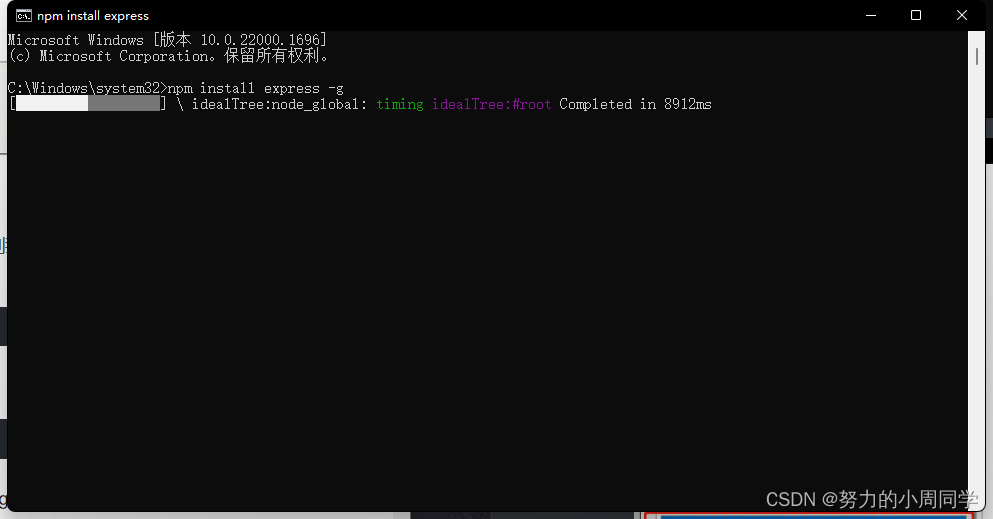
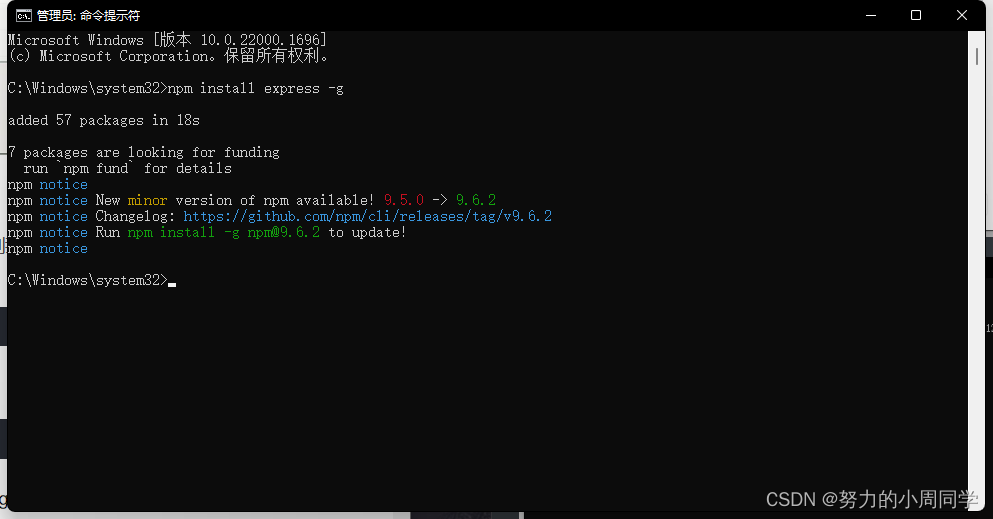
如上图所示,下载express模块成功,然后在文件管理器中查看是否保存到上面自定义的路径下。
到这里就已经修改成功了
四、设置淘宝镜像
1.将npm默认的registry修改为淘宝registry, 查看当前的镜像
npm config get registry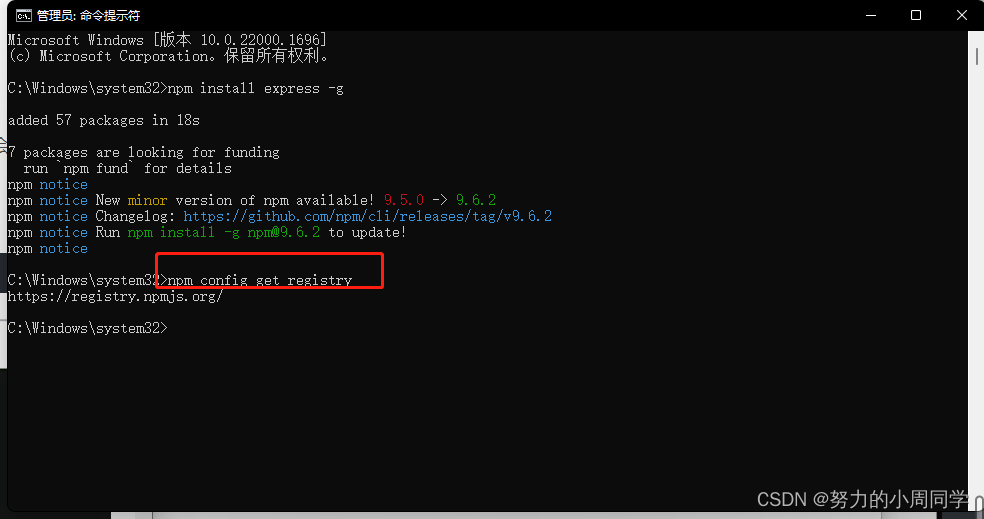
设置淘宝镜像
npm config set registry https://registry.npmmirror.com/npm config set registry https://registry.npm.taobao.org/ //即将停止解析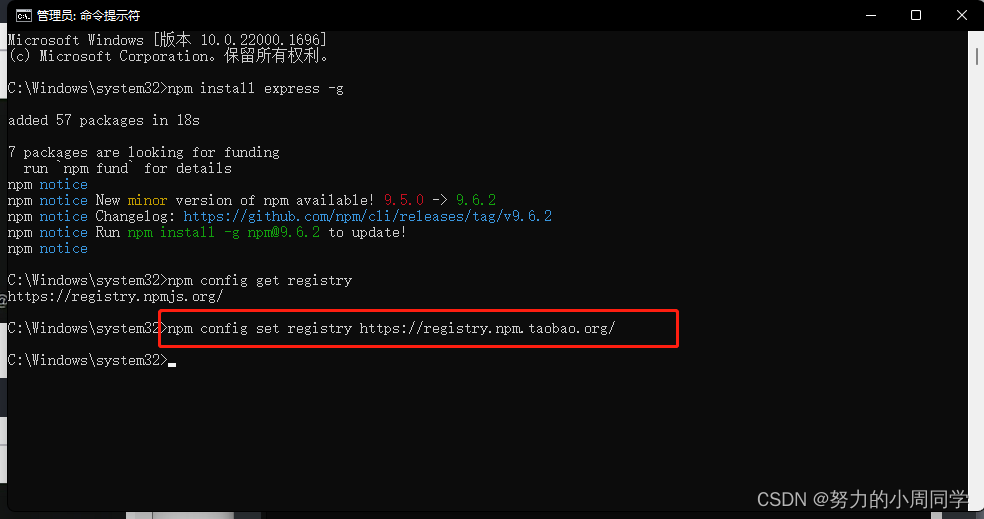
3. 执行npm config get registry查看当前的镜像
npm config get registry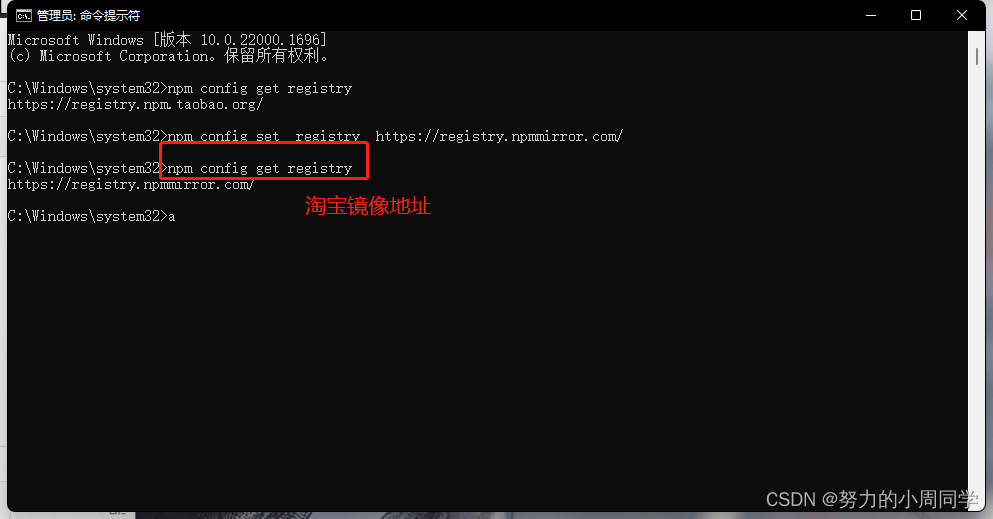
如上图所示,npm默认的registry已修改为淘宝镜像
安装淘宝源cnpm
已更改至最新
npm install -g cnpm --registry=https://registry.npmmirror.com 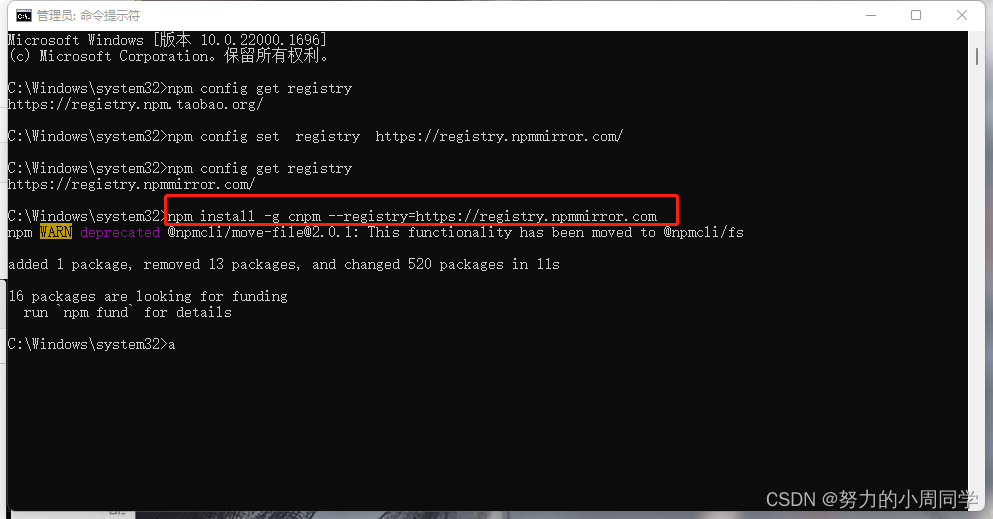
5. 查看cnpm的模块是否安装成功在本地
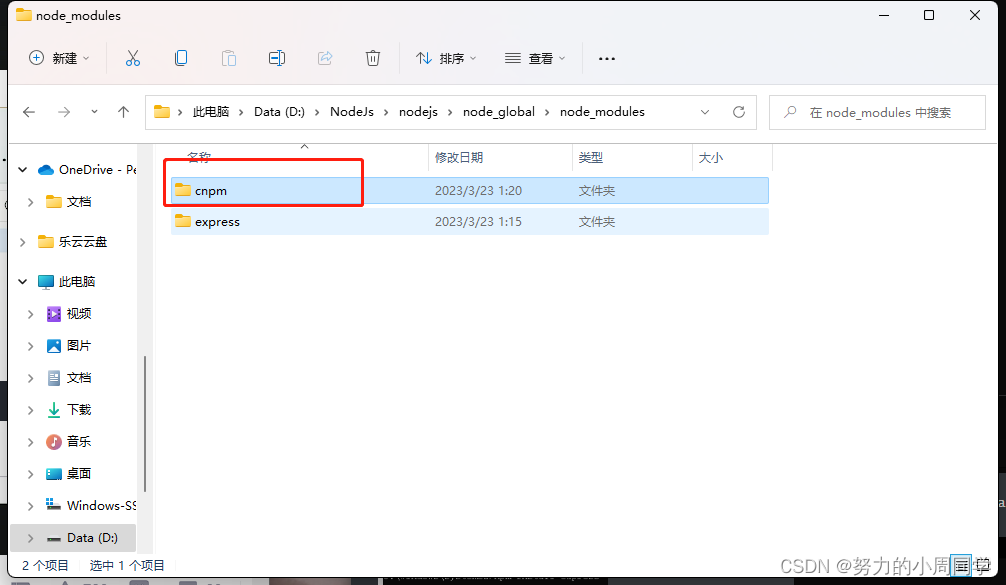
执行命令查看cnpm模块
cnpm -v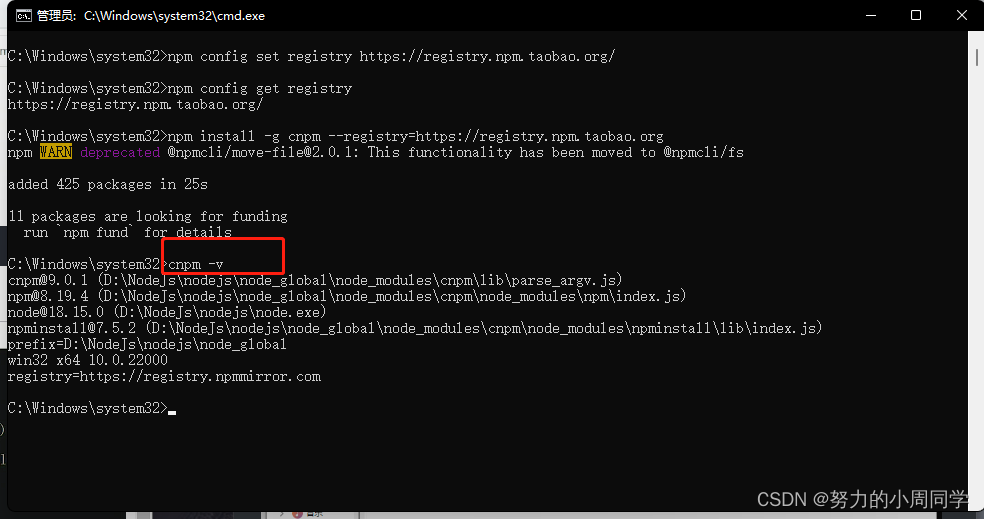
到这里就已经安装完毕.
如果遇到安装完cnpm时出现不是内部或外部命令,也不是可运行的程序。需要重新打开cmd才能正常安装。
五.卸载
如果需要卸载看另一篇博客:
文章地址: http://t.csdn.cn/JpI25
标签:
上一篇:
Angular超级入门(二)【环境安装、HelloWorld程序】
下一篇:
相关文章
-
无相关信息