Vue 路由的router 路由守卫 阻止路由跳转 让其跳到固定的位置

1.首先创建好根组件
// 根组件
let a = new Vue({
el: "#app",
data: {
},
methods: {
},
// 组件中心
// 创建好的子组件定义
components: {
}
})
2.然后将根组件渲染在视图层
3.创建子组件
// 子组件(子实例)
let Index = {
template:`#index`
}
let Login = {
template:`#login`
}
let One = {
template:`#one`
}
let User = {
template:`#user`
}
4.然后再根组件的组件中心将定义好的子组件声明
// 根组件
let a = new Vue({
el: "#app",
data: {
},
methods: {
},
// 组件中心
// 创建好的子组件定义
components: {
Index,
Login,
Region,
User
}
})
5.子组件声明过后景气渲染在视图层,在子组件div app 外写
主页组件
登录组件
注册组件
中心组件
6.创建好路由并使用,并在根组件中进行声明
// 使用路由
Vue.use(VueRouter)
// 创建路由
let router = new VueRouter({
// 配置路由规则
routes: [
{
path: "/index",
name: "Index",
component: Index
},
{
path: "/login",
name: "Login",
component: Login
},
{
path: "/region",
name: "Region",
component: Region
},
{
path: "/user",
name: "User",
component: User
},
]
})
// 根组件
let a = new Vue({
el: "#app",
data: {
},
methods: {
},
// 定义创建好的路由
router,
// 组件中心
// 创建好的子组件定义
components: {
Index,
Login,
Region,
User
}
})
7.在根组件视图层写上路由跳转标签和路由出口
8.然后再根组件中写上生命周期钩子函数mounted() dom 挂载之后
// 根组件
let a = new Vue({
el: "#app",
data: {
},
// 生命周期钩子函数
// dom挂载之后
mounted(){
// 查看dom挂载之后有没有拿到该数据
// 通过路由守卫进行拦截
// to地址 from从哪来 next到哪去
console.log(this.$router);
this.$router.beforeEach((to,from,next)=>{
// 查看数据从哪来的地址
console.log(to.path);
// 判断地址是不是来自/login 或者/user
// 如果是就去当前的页面,如果不是就全部去login登录页面
if(to.path=="/login"||to.path=="/user"){
next();
}else{
next("/login");
}
})
},
methods: {
},
// 定义创建好的路由
router,
// 组件中心
// 创建好的子组件定义
components: {
Index,
Login,
Region,
User
}
})
查看有没有拿到这个路由信息
console.log(this.$router);

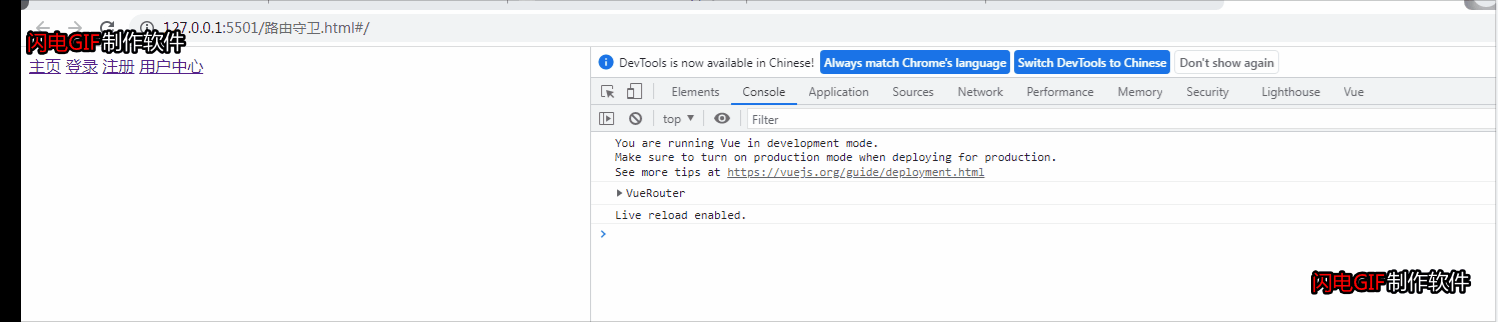
你会看到点击主页和注册都跳转到登录页
标签:
相关文章
-
无相关信息