Intellij IDEA插件之日志管理神器(Grep Console)
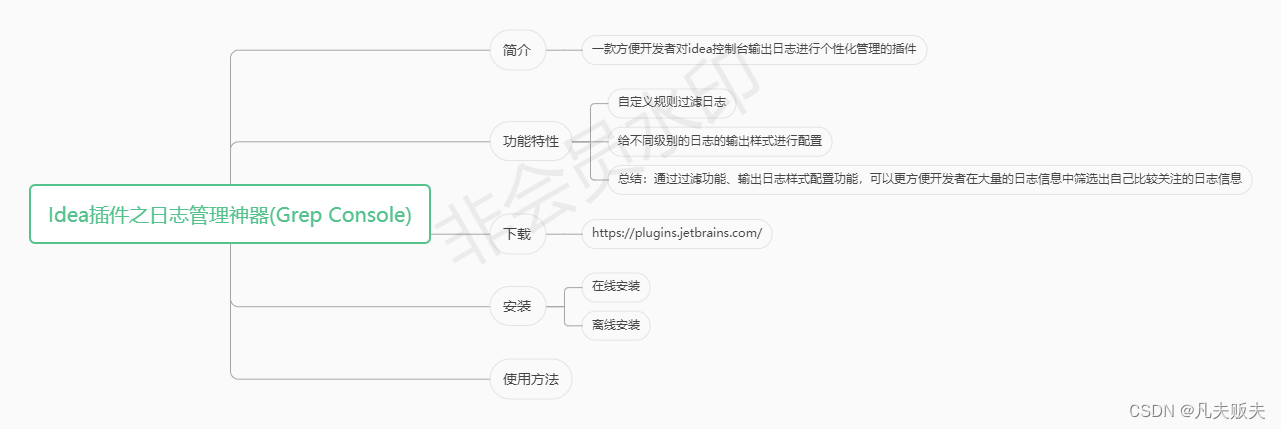
1.简介
Grep Console是一款方便开发者对idea控制台输出日志进行个性化管理的插件。
2.功能特性
Grep Console的主要功能特性:
支持自定义规则来过滤日志信息;
支持不同级别的日志的输出样式的个性化配置;
总结:通过过滤功能、输出日志样式配置功能,可以更方便开发者在大量的日志信息中筛选出自己比较关注的日志信息。
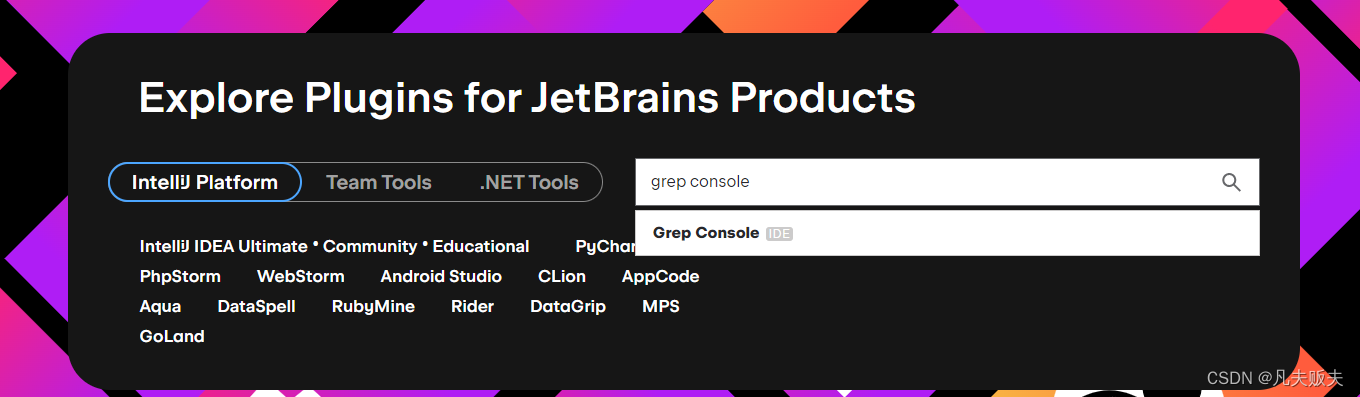
3.下载
官网下载地址:https://plugins.jetbrains.com/,在搜索输入中输入“Grep Console”,就可以到达下载页面。
4.安装
Grep Console的安装方式有两种,优化推荐第一种在线安装:
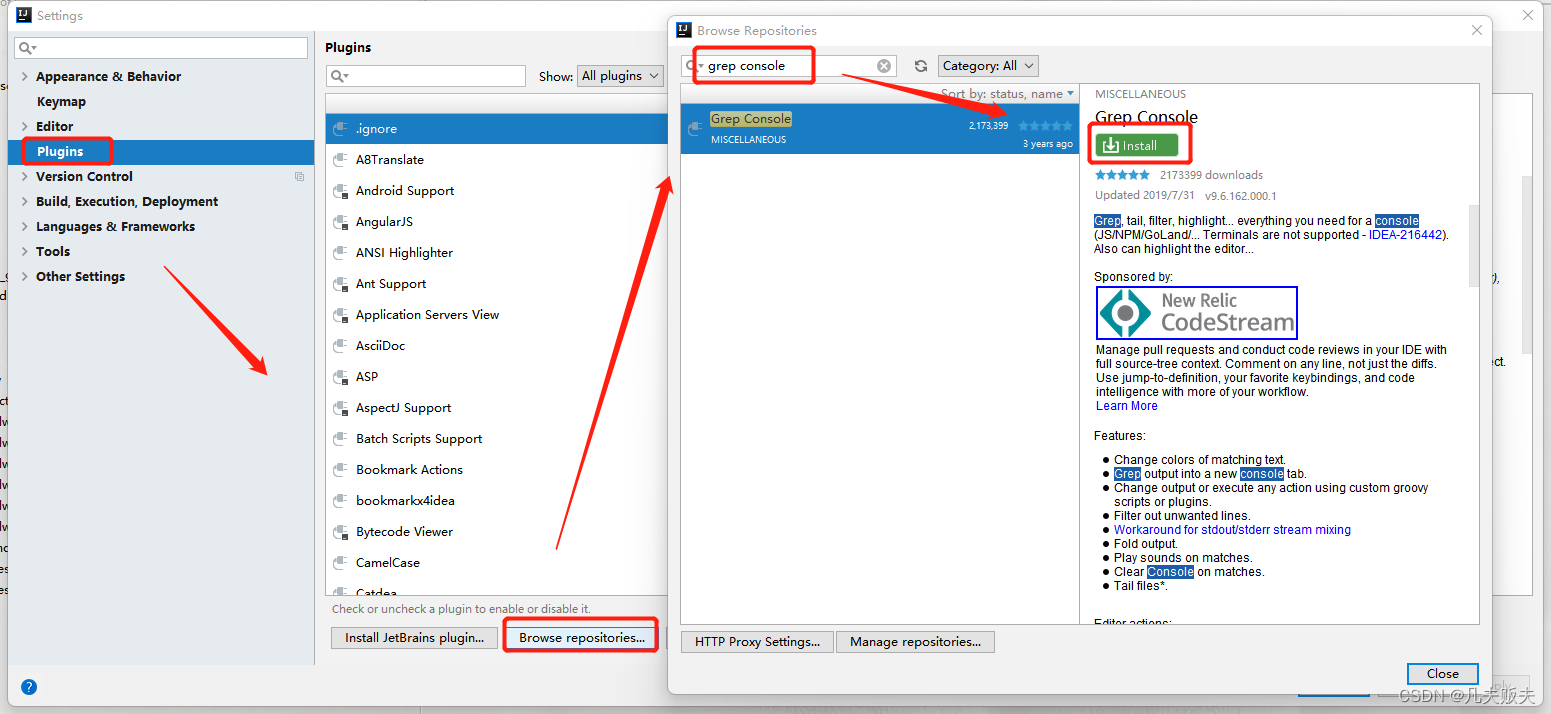
4.1 在线安装
在线安装,需要可以连接到外网,file-->settings-->plugins-->browse repositories,在查询输入框中输入“grep console”,然后点击install,最后重启idea就可以使用了。
4.2 离线安装
有的时候,无法连接到外网的时候,可以使用离线安装的方法进行idea插件安装 :
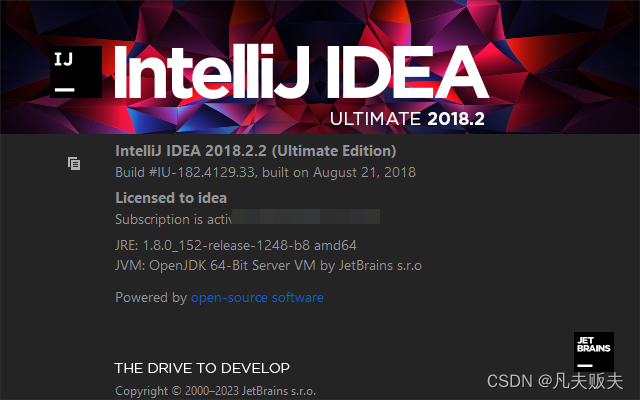
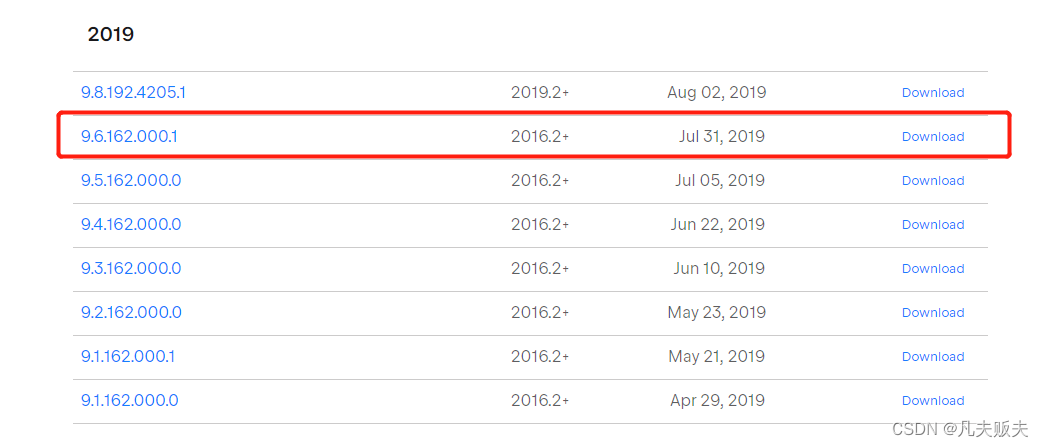
从官网下载与自己使用idea的版本号相匹配的插件安装包;(我的idea版本是2018.2),所以我下载的grep console版本是9.6.162.000.1
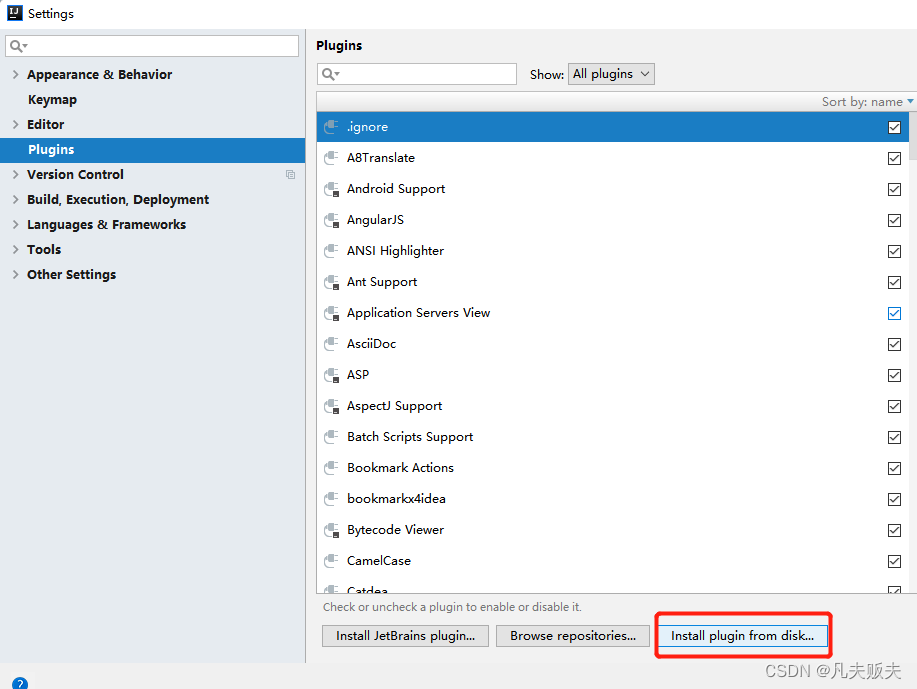
file-->settings-->plugins-->install plugin from disk,然后选中下载好的插件安装包进行安装,完装完成后重启idea就可以使用了;
4.3 卸载插件
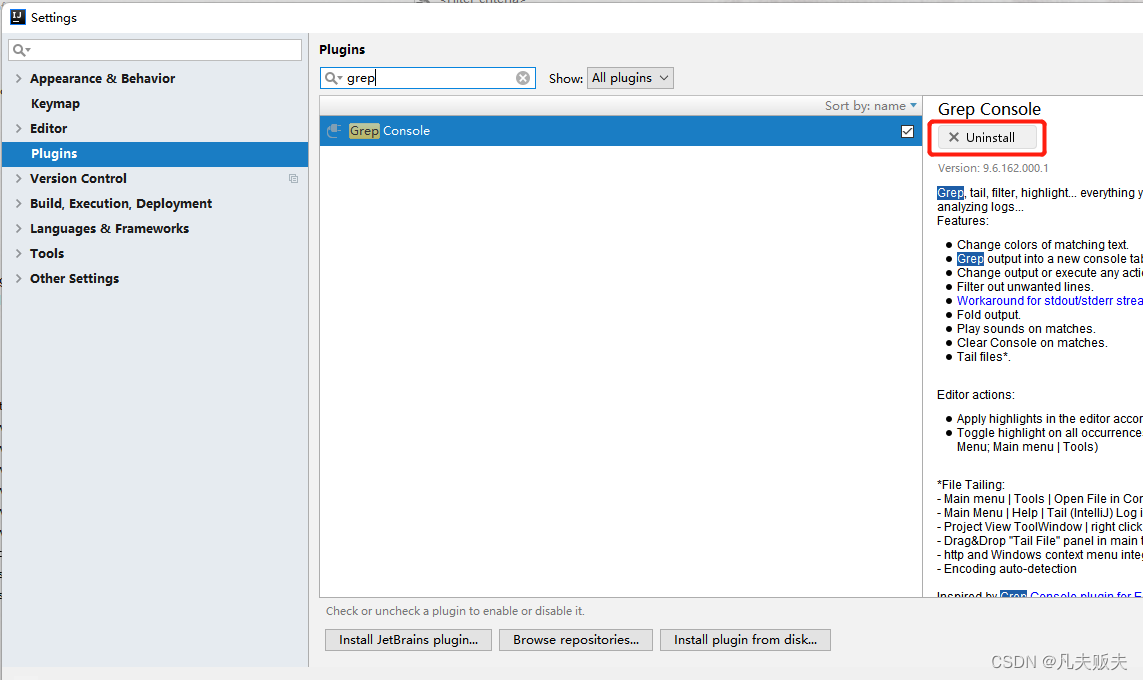
file-->settings-->plugins,在搜索输入框中输入“grep console”,然后点击uninstall进行插件卸载;
5.使用方法
5.1 配置
1、grep console的配置界面弹出有两种方法:
第一种:file-->other settings-->grep console

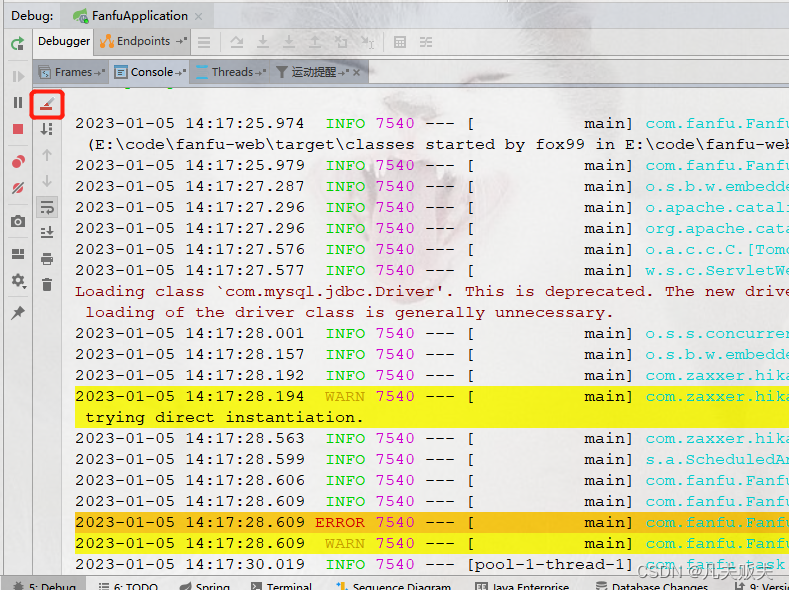
第二种,项目启动后,点击控制台上左上角的小图标,也可以弹出配置界面
2、比较关注的配置有两处:
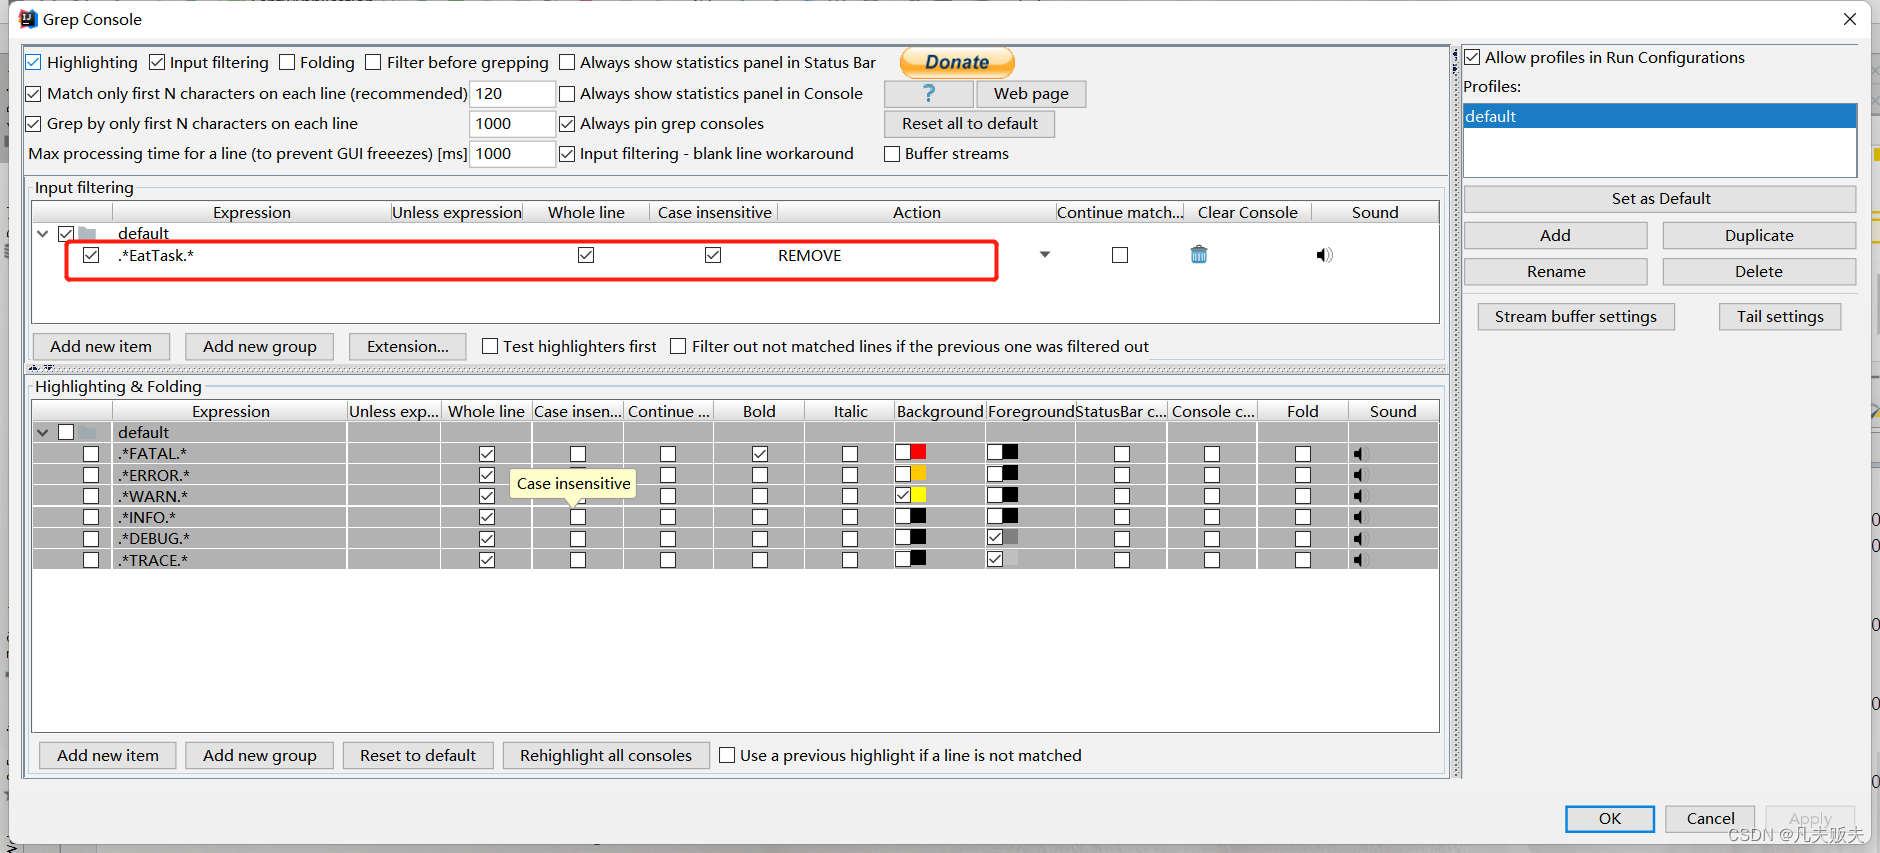
第一处:input filtering,这里主要是对输入到控制台的日志进行过滤。
注:实际使用的时候,无论我怎么写expression表达式都没有办法完全匹配整行,遇到空格就不匹配,只能匹配到一部分,有可能是我写的expression表达式不正确,也有可能插件本身在这块有问题,有知道原因的小伙伴,可以在评论区告诉我吧,非常感谢。
第二处:highlighting&folding
5.2 实战
下面实际演示一个这个插件怎么用,测试用的源代码:https://gitcode.net/fox9916/fanfu-web.git的grep-console-test分支;关于Springboot调度任务可以移步这里《Springboot定时调度任务动态管理》。开始正题:
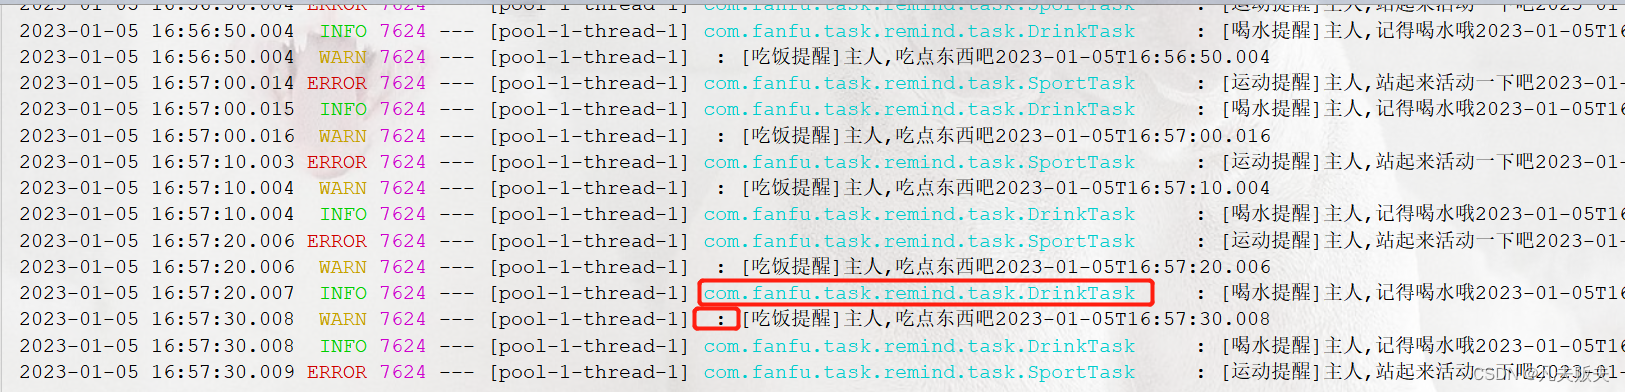
1、有三个定时调度类,在被执行的时候会输出info级别日志信息;
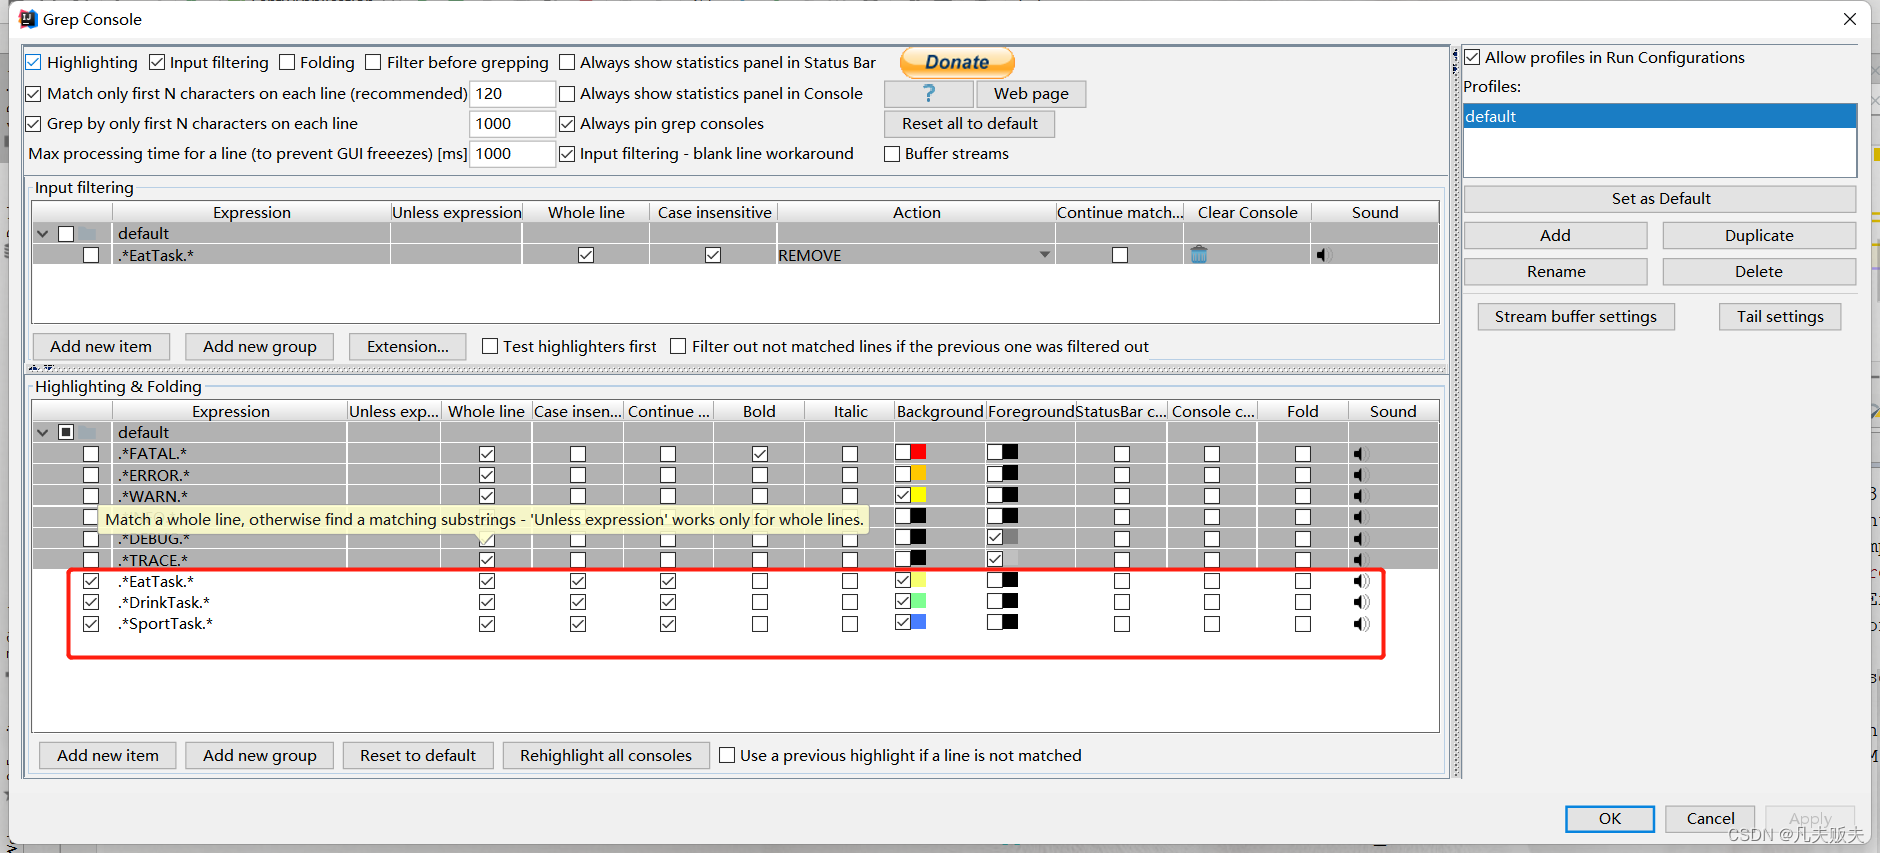
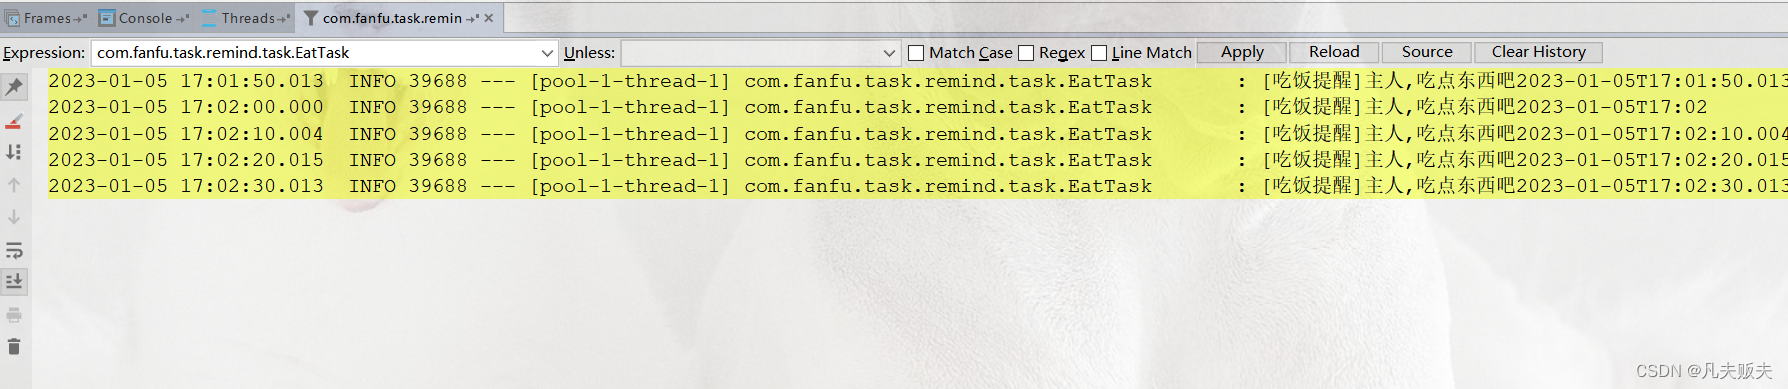
2、对这三个调度任务输出的日志信息进行配置,要求:匹配整行日志信息;忽略大小;EatTask调度任务输出日志信息背景色为黄色;DrinkTask调度任务输出日志信息为绿色;SportTask调用任务输出日志信息为蓝色;配置信息如下:
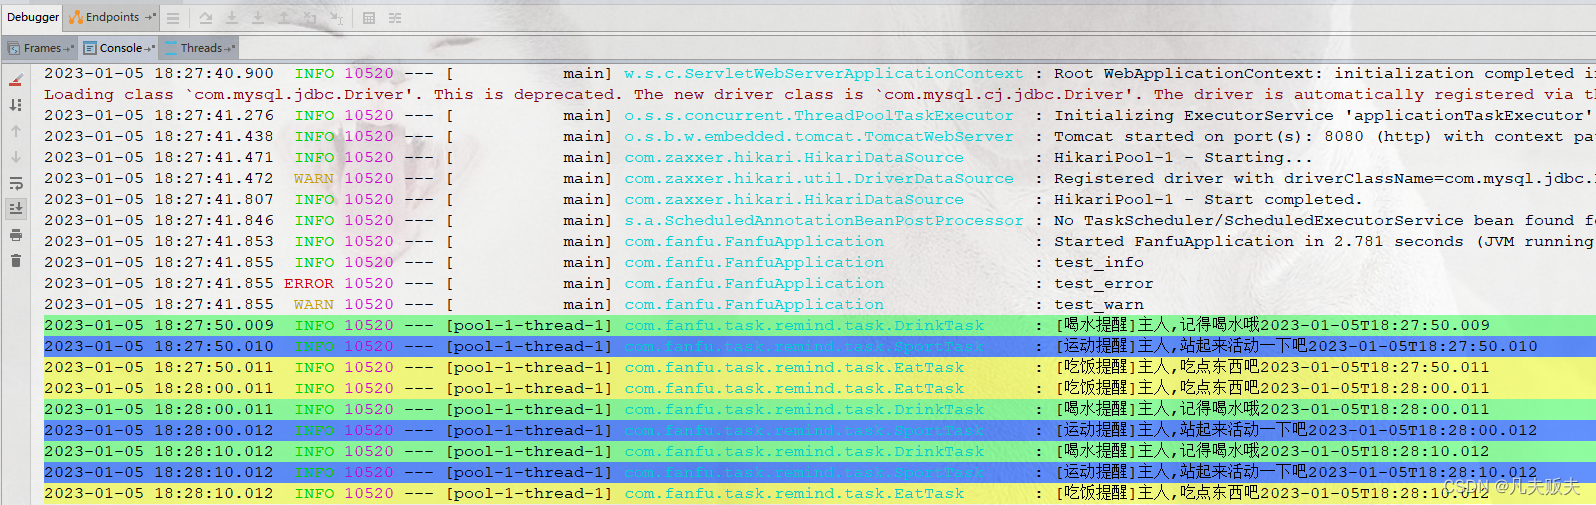
3、启动项目,输出日志信息如下:
4、在控制台输出的日志信息选中“com.fanfu.task.EatTask”,然后在选中的信息上右键弹窗中选中“Grep”,可以把包含“com.fanfu.task.EatTask”的日志信息在单独的弹窗中显示,可以通过这个功能把自己比较关注的日志信息集中显示。右键中还有另外一个功能“Add highlight”,可以把自己关注的日志信息标记为高亮,很方便在众多的日志里找到自己最想要的。

6.总结
这个插件还是很用的,终于可以在满屏的日志中,迅速找到自己关注的内容,调试程序的绝佳小帮手呀,以上就是这个插件的主要内容,可以根据自己的实际需要动手操作起来了,祝各位早点下班,bug绕着走,如果觉得很有用,麻烦各位关注加收藏,永远不迷路哦。
标签:
相关文章
-
无相关信息